
Chicken Katsu
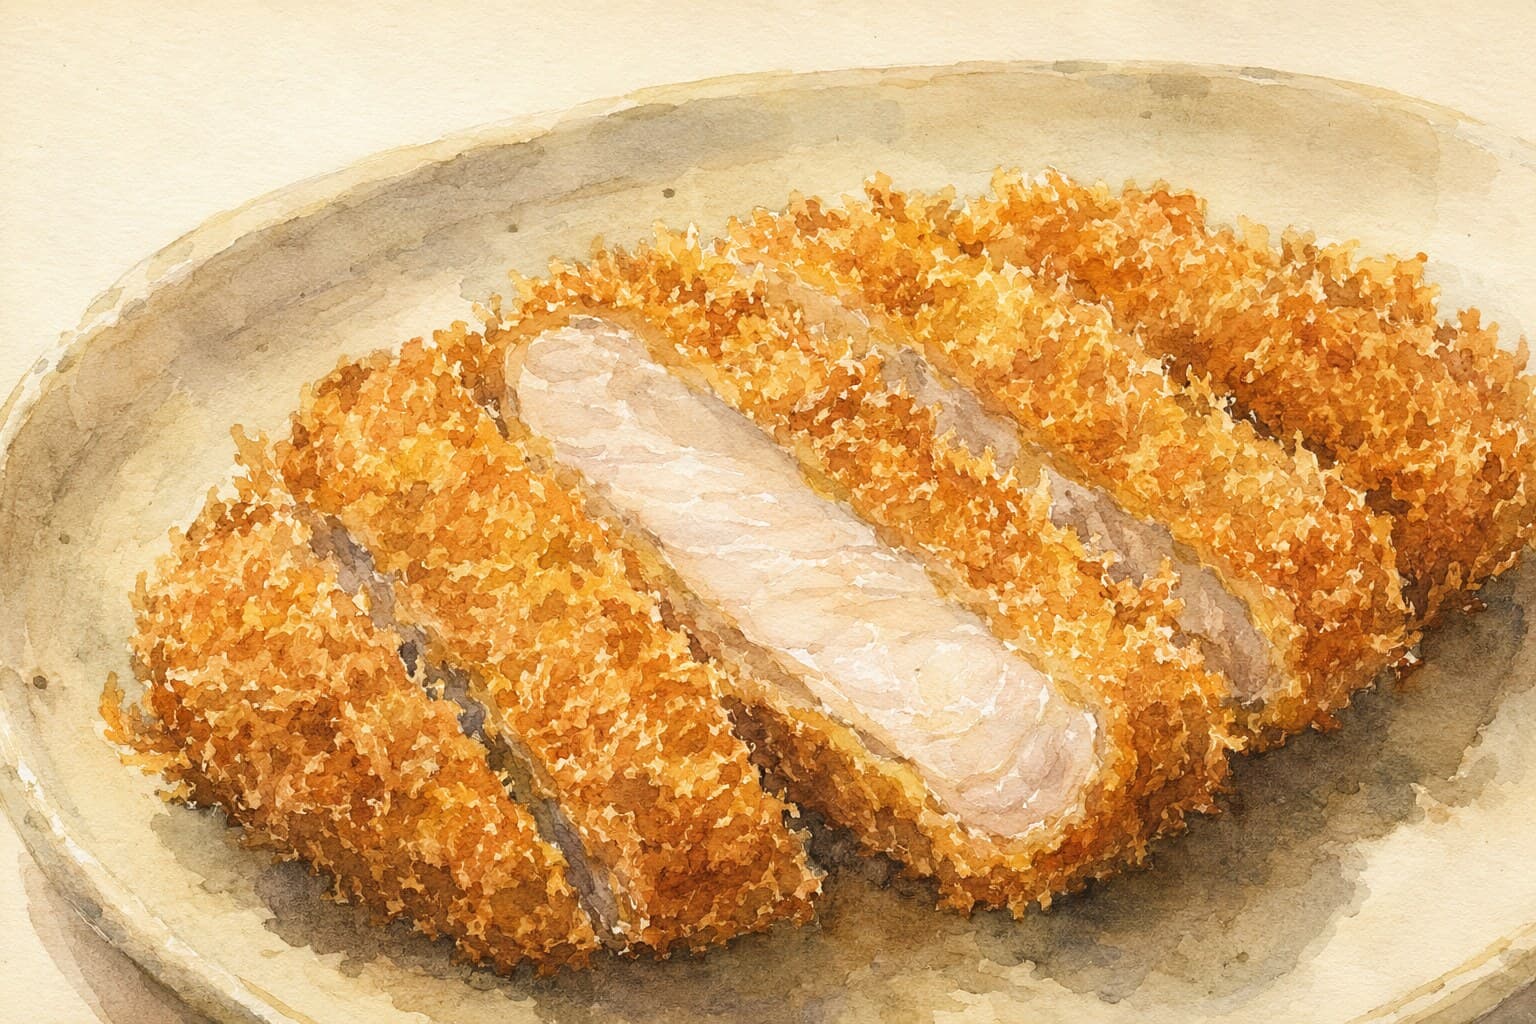
This Chicken Katsu recipe features a crispy panko crust, ensuring juicy chicken cooked to perfection.
Contents (5 sections)▾
Ingredients
- 2 chicken thighs or breasts (about 250g each)
- 100g panko bread crumbs
- 1 large egg
- 50g all-purpose flour
- 200g finely shredded cabbage
- 50ml tonkatsu sauce
- Salt and pepper to taste
- Vegetable oil for frying
Steps
Pound the chicken to an even thickness (about 1.5 cm) to ensure it cooks evenly and quickly.
Season the chicken with salt and pepper on both sides.
Set up a breading station with three shallow dishes: one with flour, one with beaten egg, and one with panko.
Coat each chicken piece first in flour, then dip in egg, and finally coat thoroughly with panko.
Heat vegetable oil in a deep skillet to 170–175°C. Use enough oil to cover the chicken pieces.
Carefully add the chicken to the hot oil and fry for about 4-5 minutes on each side, or until the crust is deep golden brown.
Check that the internal temperature of the chicken reaches 74°C using a thermometer.
Once cooked, remove the chicken from oil and let it rest for 3 minutes before slicing.
Serve with freshly shredded cabbage and drizzle with tonkatsu sauce.
Tools you'll want
- · Cast-iron skillet (Lodge, 6.5–10in)
Why this works
The key to achieving a perfectly crispy Chicken Katsu lies in the technique of breading (coating the meat in flour, then egg, then crumbs so a crust can form) and frying. Using panko bread crumbs creates a light and airy crust that crisps beautifully when fried. By pounding the chicken to an even thickness, you ensure that the meat cooks through without over-browning the crust. Maintaining the oil temperature between 170–175°C is crucial; too low, and the chicken absorbs oil, becoming greasy, while too high can burn the panko before the chicken cooks through. If the crust starts to brown too quickly, lower the heat to allow the chicken to cook through without burning the exterior. After frying, letting the chicken rest for three minutes lets it come off its peak heat, so cutting it spills less juice onto the board. If it breaks during frying, adjust the oil temperature and ensure the chicken is well-coated to maintain its structure.
Common mistakes
Leaving the chicken uneven — thick at one end, thin at the other.
Target: An even 1.5 cm thickness across the whole piece, as the recipe asks.
Why it matters: Oil cooks from the outside in at the same speed everywhere. A piece that is 3 cm at one end and 1 cm at the other cannot finish at the same moment: by the time the thick end reaches the safe 74°C, the thin end is dry and the crust above it is dark. Evenness is not a cosmetic detail — it is the whole reason this dish works.
What to do: Lay the chicken between two sheets of plastic wrap and pound from the centre outward with the flat side of a heavy pan or a meat mallet. Push the meat sideways rather than smashing straight down, so you spread it instead of tearing it.
A thick, damp layer of flour under the egg.
Target: A whisper-thin, matte film of flour with the excess tapped off.
Why it matters: Flour's only job here is to give the wet egg something to grip. A heavy coat stays powdery underneath, turns to paste in the oil, and the whole crust slides off in one sheet when you cut it. This is the single most common reason katsu "loses its jacket."
What to do: Pat the chicken dry with paper towel first, dip it in flour, then hold it up and tap your wrist firmly two or three times. The surface should look dusty-matte, not white and caked.
Crowding the pan, or dropping cold chicken into the oil.
Target: Oil steady at 170–175°C, one piece at a time in a home-sized pan.
Why it matters: Cold, wet food pulls heat out of oil fast. If the oil sags to 150°C, the crust stops sealing and starts drinking — you get a heavy, greasy cutlet instead of a crisp one. Two pieces at once can drop the temperature by 20°C or more.
What to do: Take the chicken out of the fridge about 15 minutes before frying, fry one piece at a time, and let the oil climb back to 170°C between pieces. A thermometer removes all the guesswork here.
Pressing the panko on hard.
Target: Panko sitting loose and spiky on the surface.
Why it matters: Panko is made from crustless bread dried into flakes rather than ground into sand, and its airy, jagged shape is what gives katsu its shattering crunch. Squashing it flat collapses those air pockets, and you end up with a dense, breadcrumb-like shell.
What to do: Lay the egg-coated chicken on the panko, heap more on top, and press only lightly with your fingertips — just enough for it to stick. Then lift and shake off whatever falls away.
Judging doneness by the colour of the crust.
Target: 74°C measured in the thickest part of the meat; crust deep golden brown.
Why it matters: The crust and the meat are on two different clocks. Panko can look perfectly golden after three minutes while the centre is still raw, and undercooked chicken is a genuine food-safety risk, not just a texture problem. Colour tells you about the Maillard reaction (the browning that happens when heat, protein and sugars meet) on the surface — nothing more.
What to do: Slide an instant-read thermometer in from the side, into the middle of the meat, avoiding the crust. Take it out at 74°C and let it rest 3 minutes.
What to look for
- Breaded and ready to fry: the surface is evenly furry with panko — no shiny wet patches, no bare spots. If you can see egg, add more panko there.
- Oil at frying temperature: drop in a single panko flake. It should sink a fraction, rise straight back up, and ring itself with fine, steady bubbles within about two seconds, with a light even hiss. If it sits on the bottom, the oil is too cool; if it browns instantly and the pan roars, too hot.
- First half of the fry: loud, busy sizzling and large bubbles — that is the chicken's own moisture boiling off. The crust is pale straw and still soft.
- Ready to turn: the sizzle quietens and the bubbles get smaller, and the edge you can see has gone from straw to light gold. About 4–5 minutes.
- Done: deep golden brown all over, and a light tap with your tongs sounds hard and hollow rather than soft. The thermometer reads 74°C in the centre. If you cut it, the meat is white with clear juices and no pink or greyish-pink at the bone side.
- After 3 minutes' rest: slice it — the cut face looks moist and the board stays almost dry. A puddle of juice on the board means it was cut too soon.
A note on history
Chicken katsu belongs to the yōshoku family — Japanese reinterpretations of Western dishes that took shape after the country reopened to foreign trade in the 1800s. Its direct ancestor is katsuretsu, the Japanese take on the French veal cutlet, which the Ginza restaurant Rengatei is credited with transforming in 1899 by deep-frying it in oil like tempura, swapping in pork, and serving it with shredded raw cabbage — the form we now call tonkatsu. The chicken version follows the same template with poultry in place of pork, which is why the cabbage and the tonkatsu sauce are still on the plate. (Sources: Wikipedia — Tonkatsu, Wikipedia — Chicken katsu)
Get the essays in your inbox — free
Weekly notes on flavor, fermentation, and food history — the writing behind the Atlas of Flavor. No spam; unsubscribe anytime.