
Onigirazu (Rice Sandwich)
Learn how to make onigirazu, a delicious Japanese rice sandwich filled with your choice of cooked ingredients.
Contents (5 sections)▾
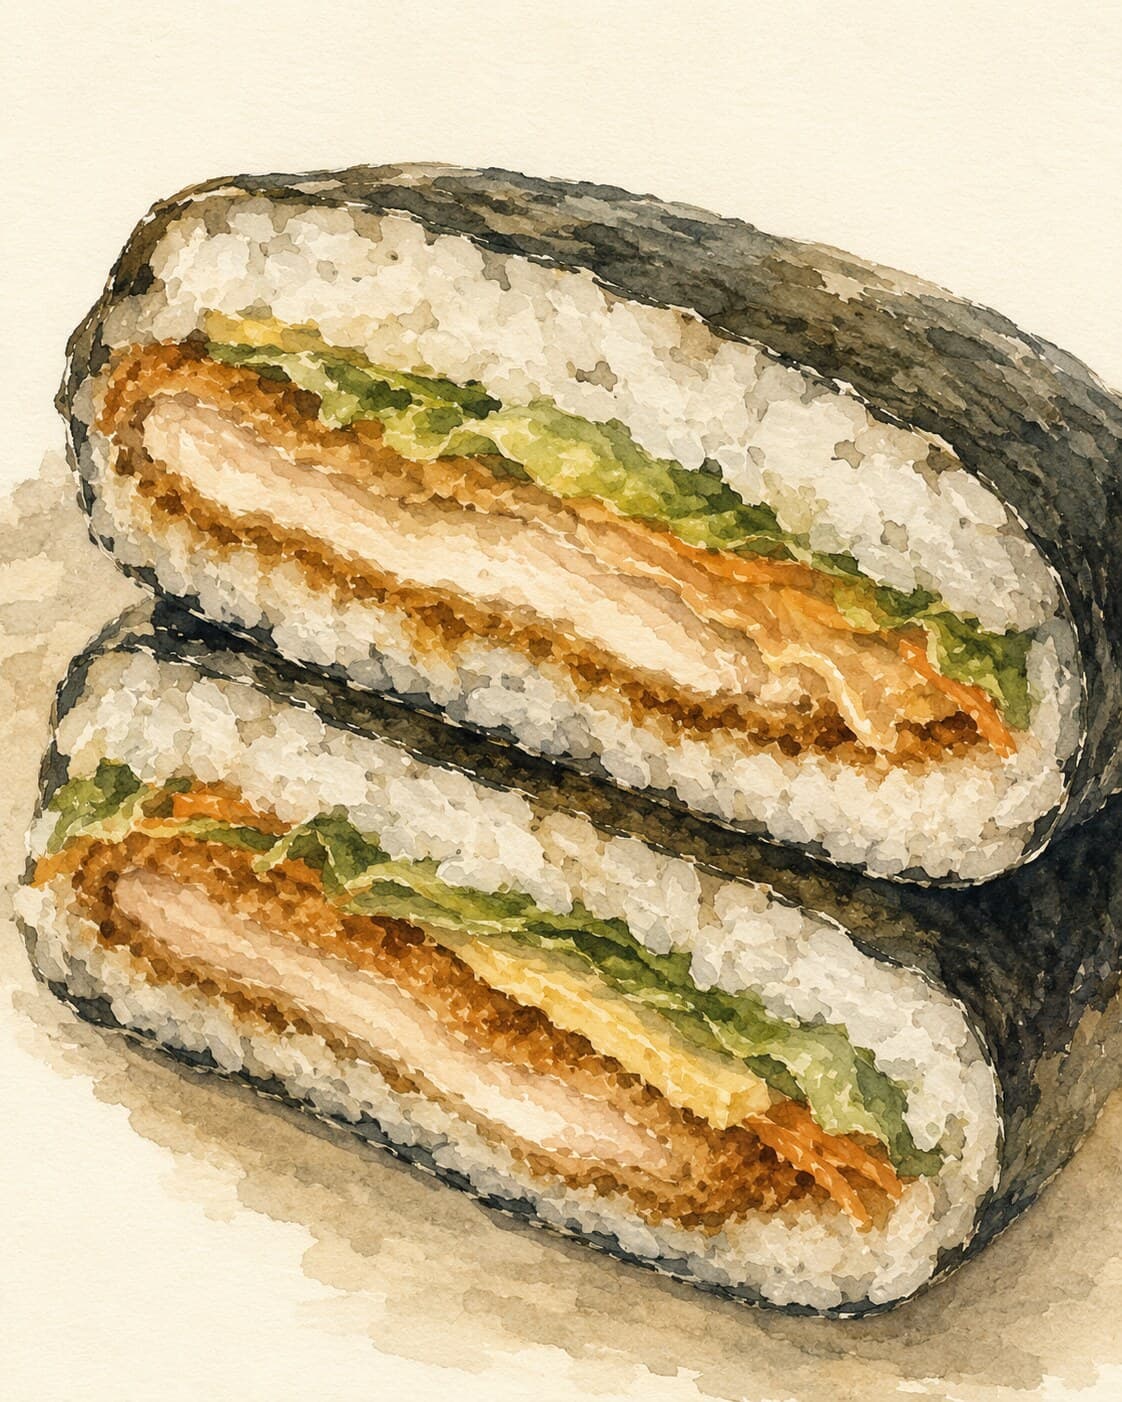
Ingredients
- 300 g cooked short-grain rice
- 2 nori sheets
- 2 pieces tamagoyaki or other cooked filling (teriyaki chicken, tonkatsu, or fully-cooked salmon)
- 2 large lettuce leaves
- 1 tbsp soy sauce
- 1 tbsp rice vinegar
- 1 tsp sugar
- salt to taste
Steps
1. In a bowl, combine the warm cooked rice (at approximately 60°C) with 2 tablespoons of soy sauce, 1 tablespoon of rice vinegar, 1 teaspoon of sugar, and 1/2 teaspoon of salt. Mix gently to season the rice evenly.
2. Place a nori sheet on a clean surface with the shiny side down. Spread about 150 g of the seasoned rice in the center, leaving about 2 cm of space at the edges.
3. Layer your chosen cooked filling (tamagoyaki, teriyaki chicken, tonkatsu, or fully-cooked salmon) and a lettuce leaf on top of the rice.
4. Fold the corners of the nori over the filling to form a square package. Ensure that all corners meet in the center and press gently to secure.
5. Wrap the onigirazu seam-side down in parchment paper or plastic wrap and let it rest for 2-3 minutes to set.
6. Using a sharp knife, cut the onigirazu cleanly through the middle to expose the colorful filling.
Tools you'll want
Why this works
The technique behind onigirazu relies on the balance of seasoned warm rice and cooked fillings, creating a cohesive and flavorful 'sandwich'. Using warm rice, ideally around 60°C, helps it to mold better and adhere to the nori (thin sheets of dried, pressed seaweed), while the resting period of 2-3 minutes allows the nori to soften slightly, making it easier to bite into without tearing. If the nori feels too stiff or the sandwich starts to break apart when cutting, you can briefly microwave it for about 10 seconds to soften the nori. Remember to always use fully-cooked fillings; any raw seafood like salmon must be cooked thoroughly to ensure safety and enhance flavor. The precise measurements and temperatures are crucial for achieving the perfect texture and flavor balance, ensuring that each bite is as delightful as intended. If you find the rice too sticky, adding a little more vinegar can help achieve a better consistency. Overall, this method emphasizes the importance of temperature and timing in creating a delicious onigirazu.
Common mistakes
Using rice straight from the fridge — or straight from the boil.
Target: Warm rice, around 60°C: hot enough to steam faintly, cool enough to handle with damp hands.
Why it matters: Cooked rice is held together by starch that has absorbed water and turned soft and sticky. As rice cools, that starch slowly firms up again (this is why day-old rice goes hard and separate) and it stops gripping. Cold rice will not bond into a layer, and the parcel falls open the moment you cut it. At the other extreme, rice fresh off the boil floods the nori with steam and collapses the lettuce into a limp, wet layer.
What to do: If your rice is cold, warm it gently — a covered bowl in the microwave for 30–40 seconds, then let it stand a minute so the heat evens out. If it is piping hot, spread it on a tray and fan it for a minute or two.
Piling the rice into a mound instead of a flat layer.
Target: About 150 g of rice per sheet, pressed into a flat square roughly the size of your palm, with about 2 cm of bare nori (dried, pressed seaweed sheet) around the edges.
Why it matters: A nori sheet only has so much reach. Every millimetre of extra height in the middle is a millimetre the corners have to stretch, and if they cannot meet in the centre, nothing holds the parcel shut. Overfilling is the number one cause of onigirazu that burst.
What to do: Wet your hands, then flatten the rice with your fingertips rather than your palm — you will keep the layer even and the border clear. If the corners of the nori do not comfortably overlap in the middle, take some filling out.
Wet fillings and damp lettuce.
Target: Fillings patted dry; lettuce leaves dried thoroughly before they go in.
Why it matters: Nori is paper-thin dried seaweed, and it dissolves in liquid. A teriyaki chicken or tonkatsu piece dripping with sauce will soften the wrapper into wet tissue that tears the instant you press it, and the layers will slide apart under the knife. Water is the enemy of every part of this dish except the rice.
What to do: Blot saucy fillings with paper towel before layering. Dry lettuce leaf by leaf, and lay the lettuce directly against the rice as a barrier between the rice and any moist filling.
Cutting straight away, without wrapping and resting.
Target: Wrapped seam-side down in parchment or cling film for a full 2–3 minutes.
Why it matters: Two things happen in those minutes. The dry nori draws moisture from the rice and turns from brittle to pliable, so it bends around the filling instead of cracking. And the wrap holds everything under gentle, even pressure while the rice layers settle into each other. Cut before that and you are slicing a stack of loose parts.
What to do: Fold the parcel, turn it seam-side down so its own weight seals the folds, wrap it snugly, and leave it. Then cut through the wrapping and peel it back afterwards — the wrap holds the cut faces together.
Sawing with a dry knife.
Target: A sharp blade, wiped and lightly dampened, drawn through in long strokes.
Why it matters: Rice starch is glue. A dry blade grabs the grains and drags them sideways, so instead of a clean cross-section you get a smeared face with the filling pulled out of line. Pressing down hard makes it worse, squashing the layers you were trying to show off.
What to do: Wipe the blade with a damp cloth before each cut. Cut in one long forward-and-back draw, letting the sharpness do the work, and wipe again before the next one.
What to look for
- Seasoned rice, ready: the grains look glossy and just-moistened and hold together in a soft clump when pressed — never soupy or pooling liquid in the bottom of the bowl. If liquid pools, the rice will not hold a layer.
- Rice at the right temperature: you can see the faintest wisp of steam, and with wet hands it feels warm but not uncomfortable. It should give slightly when pressed, not crunch or resist.
- Nori laid correctly: the shiny, smoother side goes face down against the board; the duller, slightly rougher side faces up and grips the rice better.
- Nori ready to fold: the fresh sheet is stiff and rustles crisply. Once the rice is on, the areas touching it darken slightly and go matte, and the sheet becomes quiet and bendy in your fingers. That change is your signal it will fold without splitting.
- A well-built parcel: all four corners overlap in the centre with no rice showing through, and when you lift it the whole thing feels like one firm block rather than a shifting stack.
- After the 2–3 minute rest: the parcel holds its square shape when you set it on its side, and the wrapping comes away without pulling nori with it.
- A good cut: distinct, level bands — nori, rice, filling, rice, nori — with the filling running edge to edge and the rice not smeared across the face.
- On safety and keeping: the fillings must be fully cooked through, never raw fish or lightly cooked egg. Once made, keep onigirazu cool and eat it within a few hours; rice and cooked fillings left at room temperature for a long stretch are a real risk, not a fussy precaution.
A note on history
Onigirazu is unusually easy to date, because it began in a comic. The dish first appeared in 1991 in Tochi Ueyama's long-running cooking manga Cooking Papa — Ueyama has said he drew it after watching his wife throw the same thing together in a hurry — and the name is a pun: onigiri means "rice ball," and onigirazu means, roughly, "the one you don't squeeze." It stayed a manga curiosity for more than two decades, then spread across Japanese food blogs and recipe sites in the autumn of 2014 and became a household lunchbox staple. (Sources: Nippon.com — "Wrap Your Lunch: Reinventing the Humble Rice Ball with 'Onigirazu'", SBS Food — "The Japanese sandwich made famous by manga")
Get the essays in your inbox — free
Weekly notes on flavor, fermentation, and food history — the writing behind the Atlas of Flavor. No spam; unsubscribe anytime.