
Fried Kibbeh (Kibbeh Maqliya)
Learn how to make Fried Kibbeh (Kibbeh Maqliya), a flavorful Levantine starter with a crispy bulgur shell and savory meat filling.
Contents (5 sections)▾
Ingredients
- 200 g fine bulgur
- 250 g minced lamb or beef
- 1 medium onion, finely chopped
- 1 tsp ground cumin
- 1 tsp ground allspice
- 1/2 tsp salt
- 1/4 tsp black pepper
- 2 tbsp pine nuts, toasted
- 1 tbsp olive oil
- 500 ml vegetable oil for frying
- lemon wedges, for serving
- fresh parsley, for garnish
Steps
Soak the fine bulgur in cold water for about 20 minutes until it absorbs the water and softens; this helps create a pliable shell.
In a skillet, heat olive oil over medium heat and sauté the chopped onion until translucent, about 5 minutes. Add minced meat, cumin, allspice, salt, and pepper, cooking until browned, around 7-10 minutes. Stir in toasted pine nuts and let the mixture cool. Cook the ground meat until it reaches 71 °C / 160 °F on an instant-read thermometer (no longer pink throughout) — colour, float and time are guides, not the safety test.
Once the bulgur is ready, drain excess water and knead it with your hands for a few minutes until smooth. This forms the base for the kibbeh shell.
Take a small amount of bulgur dough and shape it into a thin oval shell, about 1/8 inch thick. Place a spoonful of the meat mixture inside and carefully seal the edges. Repeat until all dough and filling are used.
In a deep pot, heat vegetable oil to 180°C (350°F). Fry the kibbeh in batches for 3-4 minutes or until they are golden brown on all sides. Use a slotted spoon to remove them and drain on paper towels.
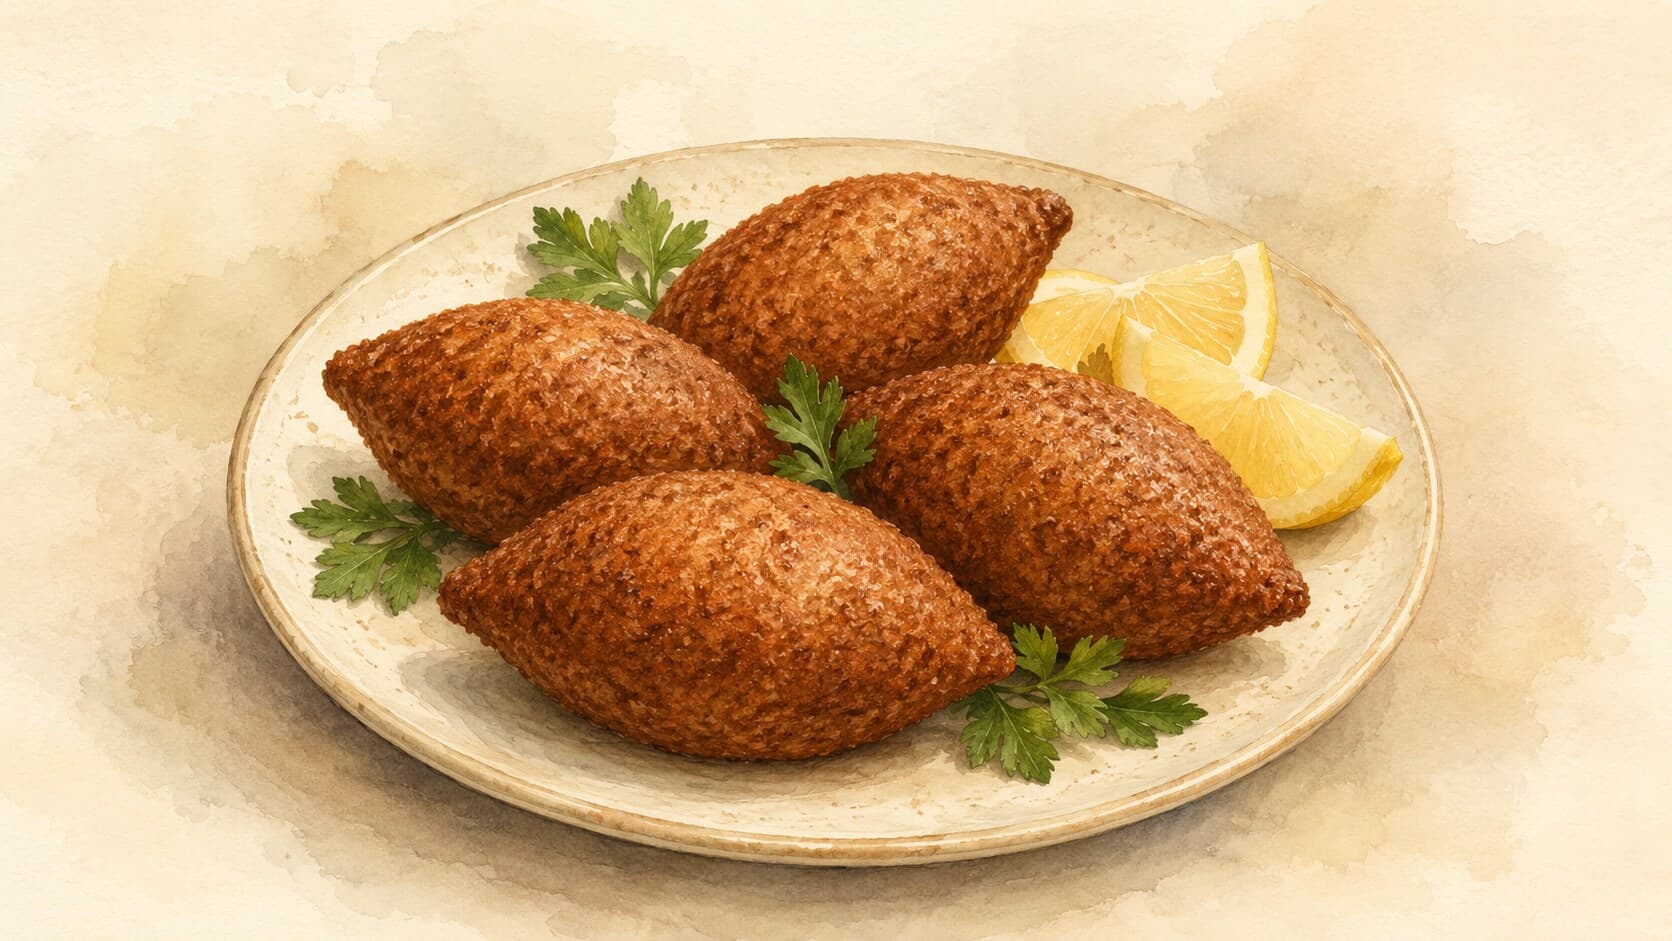
Serve the fried kibbeh hot, garnished with parsley and accompanied by lemon wedges.
Tools you'll want
Why this works
The key to successful fried kibbeh (Levantine spiced-meat-and-bulgur croquettes) lies in the balance of texture and flavor. The fine bulgur (cracked, par-cooked wheat used widely across the Middle East) forms a delicate shell that crisps beautifully when fried, while the savory filling of minced lamb or beef combined with spices creates a rich taste experience. Kneading the bulgur helps develop gluten, giving it the necessary elasticity for shaping the shells. If the kibbeh breaks during frying, it may be too thin; simply adjust the thickness when shaping. Additionally, frying at the correct temperature is crucial; too low, and the kibbeh will absorb excess oil, becoming greasy, while too high can burn the exterior before the interior cooks through. Maintaining a steady oil temperature ensures a crisp outer layer while keeping the filling moist. This method, when followed, results in perfectly shaped and fried kibbeh that are both visually appealing and delicious.
Common mistakes
Cooking the filling and shaping the shells while the meat is still hot.
Target: Cook the meat filling fully, then cool it completely before stuffing — to room temperature or cooler.
Why it matters: Warm filling softens the bulgur shell from the inside and makes it tear and split when you shape and fry it. Cool, firm filling lets you seal a thin shell cleanly. (The filling is already cooked here, but the kibbeh still go into hot oil, so the shell must hold.)
What to do: Brown the meat with the onion and spices until it is fully cooked through — it is ground meat, so check the thickest part with an instant-read thermometer for 71°C / 160°F rather than going by colour — then stir in the toasted pine nuts and spread it on a plate to cool before you start forming shells.
Making the shell too thick or too thin.
Target: An even shell about 1/8 inch (3 mm) thick, with no cracks and the edges fully sealed.
Why it matters: Too thick and the bulgur stays raw and pasty at the center while the outside over-browns; too thin and it splits in the oil, letting the filling spill and the oil foam. An even wall fries through at the same rate the surface colors.
What to do: Knead the drained bulgur until smooth and pliable so it holds together (the kneading works the starch into a cohesive dough), then shape over a wet finger, pressing to a uniform thinness and pinching every seam shut.
Frying in oil that is too cool — or too hot.
Target: 180°C (350°F), held steady, frying in small batches.
Why it matters: Below temperature, the shell absorbs oil and turns greasy and heavy instead of crisp; too hot, the outside burns before the bulgur shell is cooked through. Crowding the pot drops the temperature fast and causes both problems at once.
What to do: Use a thermometer and fry a few at a time, letting the oil recover between batches. Each kibbeh should sizzle steadily and turn deep golden-brown in about 3–4 minutes.
Careless handling of the hot oil.
Target: A deep pot filled no more than halfway, dry kibbeh lowered gently, a slotted spoon for turning and lifting.
Why it matters: Hot oil at 180°C burns instantly and a splash can ignite — surface water flashes to steam and spatters violently, and an overfull pot can boil over. This is the real hazard of the dish.
What to do: Pat off any surface moisture, lower each kibbeh in away from you rather than dropping it, never leave the pot unattended, and keep a lid nearby to smother flames (never water on an oil fire).
What to look for
- The soaked bulgur before kneading: plumped and softened, no hard gritty center when pressed. It has absorbed enough water to knead into a shell.
- The kneaded shell dough: smooth, cohesive, and pliable — holds a thin wall without crumbling or cracking. Worked enough to seal cleanly around the filling.
- The kibbeh in the oil: a steady, lively sizzle with small bubbles, deepening to even golden-brown, no filling leaking out. Frying at the right temperature with the seams holding.
- The cross-section when cut: a crisp, thin, golden shell around moist, fully cooked filling — no pasty raw bulgur. The filling was brought to 71°C / 160°F before shaping, so it is safe — colour is not the test — and the texture contrast stays intact.
A note on history
Kibbeh is a dish of spiced ground meat and bulgur wheat at the heart of Levantine cooking, with roots reaching back to the ancient Fertile Crescent where wheat and livestock were first joined (Wikipedia). It is widely considered a national dish of both Lebanon and Syria, and some accounts trace its refinement to the city of Aleppo before it spread through the region (Wikipedia). The name comes from the Arabic kubba, from a root meaning "to form a ball," a reference to the shaped, stuffed form (Wikipedia).
Get the essays in your inbox — free
Weekly notes on flavor, fermentation, and food history — the writing behind the Atlas of Flavor. No spam; unsubscribe anytime.