
Frikadeller (Danish Pan-Fried Meatballs)
Frikadeller are soft, oval Danish pan-fried meatballs, known for their juicy texture and delightful flavor.
Contents (5 sections)▾
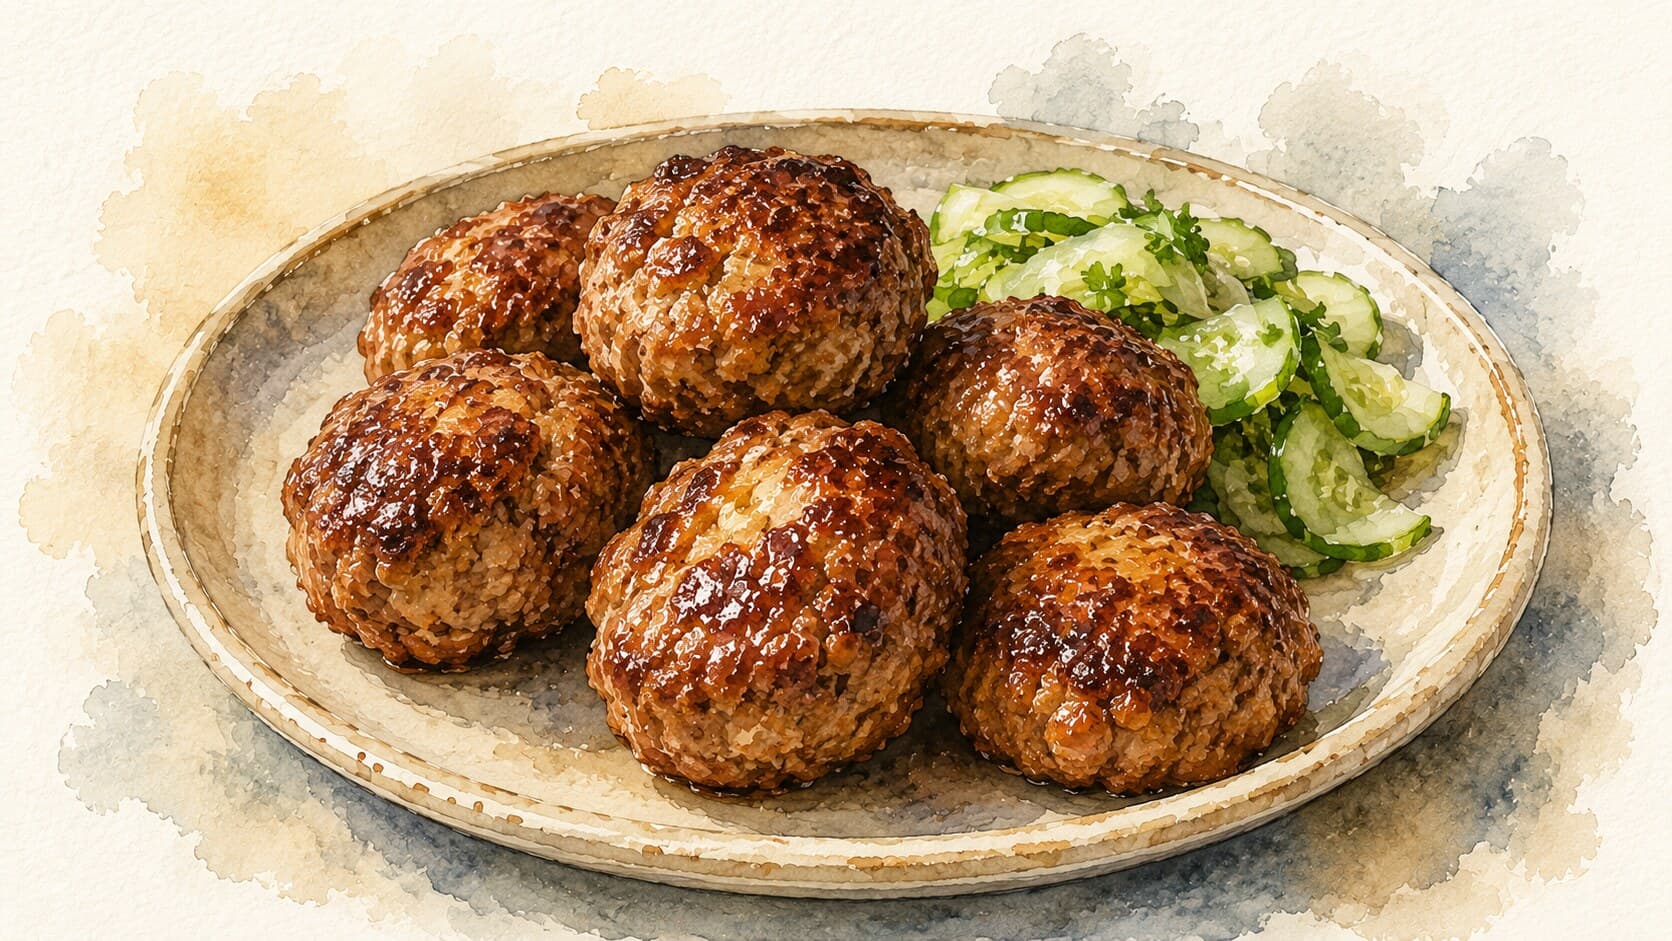
Ingredients
- 500 g ground pork
- 500 g ground veal
- 1 medium onion, finely chopped
- 100 ml milk
- 1 large egg
- 100 g all-purpose flour
- 1 tsp salt
- 1/2 tsp black pepper
- 1/4 tsp ground nutmeg
- 50 g butter for frying
- Fresh parsley, chopped for garnish
Steps
In a large bowl, combine the ground pork, ground veal, chopped onion, milk, egg, flour, salt, pepper, and nutmeg. Beat the mixture vigorously with a wooden spoon until it becomes sticky, about 3-4 minutes.
Heat a large skillet over medium heat and add half of the butter. Once melted and bubbling, use a spoon to scoop out portions of the meat mixture and place them in the pan, flattening them slightly with the back of the spoon.
Cook the frikadeller for about 5-6 minutes on each side, or until they are golden brown and cooked through. Ensure the internal temperature reaches at least 75°C for safety.
Remove the frikadeller from the skillet and keep warm. Add the remaining butter to the pan, then repeat the cooking process with the remaining meat mixture.
Serve the frikadeller warm, garnished with chopped parsley.
Tools you'll want
- · Cast-iron skillet (Lodge, 6.5–10in)
Why this works
The technique of beating the meat mixture until sticky is crucial; it develops the proteins in the meat, which helps the patties hold together while cooking. The combination of pork and veal provides a rich, juicy flavor and a tender texture. By using a spoon to shape the frikadeller, you ensure they are consistently sized and have a desirable oval shape. If the mixture seems too loose to hold its shape, adding a little more flour can help firm it up without compromising the texture. Cooking in butter adds a wonderful flavor and helps achieve a golden crust, while the medium heat allows them to cook through without burning. This method results in soft, juicy meatballs that are perfectly complemented by their crispy exterior. The key to success lies in not overcrowding the pan; this ensures even cooking and browning.
Common mistakes
Under-mixing the meat — or barely mixing at all.
Target: Beat the mixture vigorously for a few minutes until it turns visibly sticky and tacky and pulls together as a mass.
Why it matters: Working the salted ground meat draws out and links up its sticky proteins (mainly myosin), which is what binds the frikadeller so they hold their shape and stay springy-tender rather than falling apart. A loosely stirred mixture has no internal structure and breaks up in the pan.
What to do: Mix hard with a wooden spoon or your hand until the fars (the Danish word for the seasoned meat mixture) is sticky enough to cling to the spoon. If it still feels loose, a little more flour helps it firm up.
Letting the butter burn before the meat goes in.
Target: Melt the butter until it foams and the foam just begins to subside — then add the frikadeller.
Why it matters: Butter contains milk solids that brown and then scorch quickly over high heat. A little browning (the nutty beurre noisette stage) is good flavor; black, acrid butter is not, and it will taint the crust. Adding the meat while the butter is foaming also cools the pan slightly and protects the solids.
What to do: Use medium heat, watch for the foam, and get the meat in before the butter darkens past golden. If it does scorch, wipe the pan and start with fresh butter.
Crowding the pan so they steam instead of browning.
Target: Leave space between each one; cook in batches.
Why it matters: A good frikadelle has a browned, savory crust from the Maillard reaction (the chemistry between proteins and sugars under dry heat that builds roasted flavor and color). Packed together, the patties release moisture that pools and steams them — they turn gray and pale instead of golden.
What to do: Give each one room, and don't move them until they release cleanly from the pan, then turn once.
Cutting them too thick, or calling them done by color.
Target: Flatten slightly to an oval about 2 cm thick; cook through to at least 71°C / 160°F in the center, with no pink remaining.
Why it matters: Frikadeller are made with ground pork and veal, and ground meat must be fully cooked because any surface bacteria are mixed all the way through — a browned outside is no guarantee the center is safe. Too thick and the outside burns before the middle is done; judging by crust color alone risks a raw center.
What to do: Keep them a moderate thickness so they cook through evenly. Check with a thermometer, or cut one open and look for firm, uniform, no-pink meat and clear juices.
What to look for
- The mixed fars: it turns sticky and tacky and clings to the spoon, holding together as one mass rather than crumbling. That stickiness is the protein bind — the sign it will hold its shape.
- The butter: foaming and pale gold, smelling nutty — not browned to dark or smoking. That window is when the pan is at the right heat to sear.
- The crust: a deep golden-brown surface that releases from the pan without tearing when you go to turn it. If it sticks, it isn't browned enough yet — wait.
- Doneness: the center is firm to a gentle press, uniformly grayish-brown with no pink, and any juices run clear. Springy-firm, not squishy, means cooked through.
A note on history
Frikadeller belong to a broad northern-European family of pan-fried minced-meat patties, and the Danish form is thought to trace back to at least the 18th century, with some accounts crediting German influence in earlier centuries (Wikipedia: Frikadelle). For a long time minced meat was a labor-intensive luxury, so frikadeller began as more of an upper-class dish; the spread of the mechanical meat grinder in the 19th century made ground meat cheap and turned frikadeller into everyday husmandskost — ordinary Danish home cooking (Eating Europe). The common formula has stayed remarkably stable: minced pork (often with veal), onion, egg, milk, flour, and seasoning, shaped with a spoon and pan-fried in butter (196 flavors).
Get the essays in your inbox — free
Weekly notes on flavor, fermentation, and food history — the writing behind the Atlas of Flavor. No spam; unsubscribe anytime.