
Pavlova
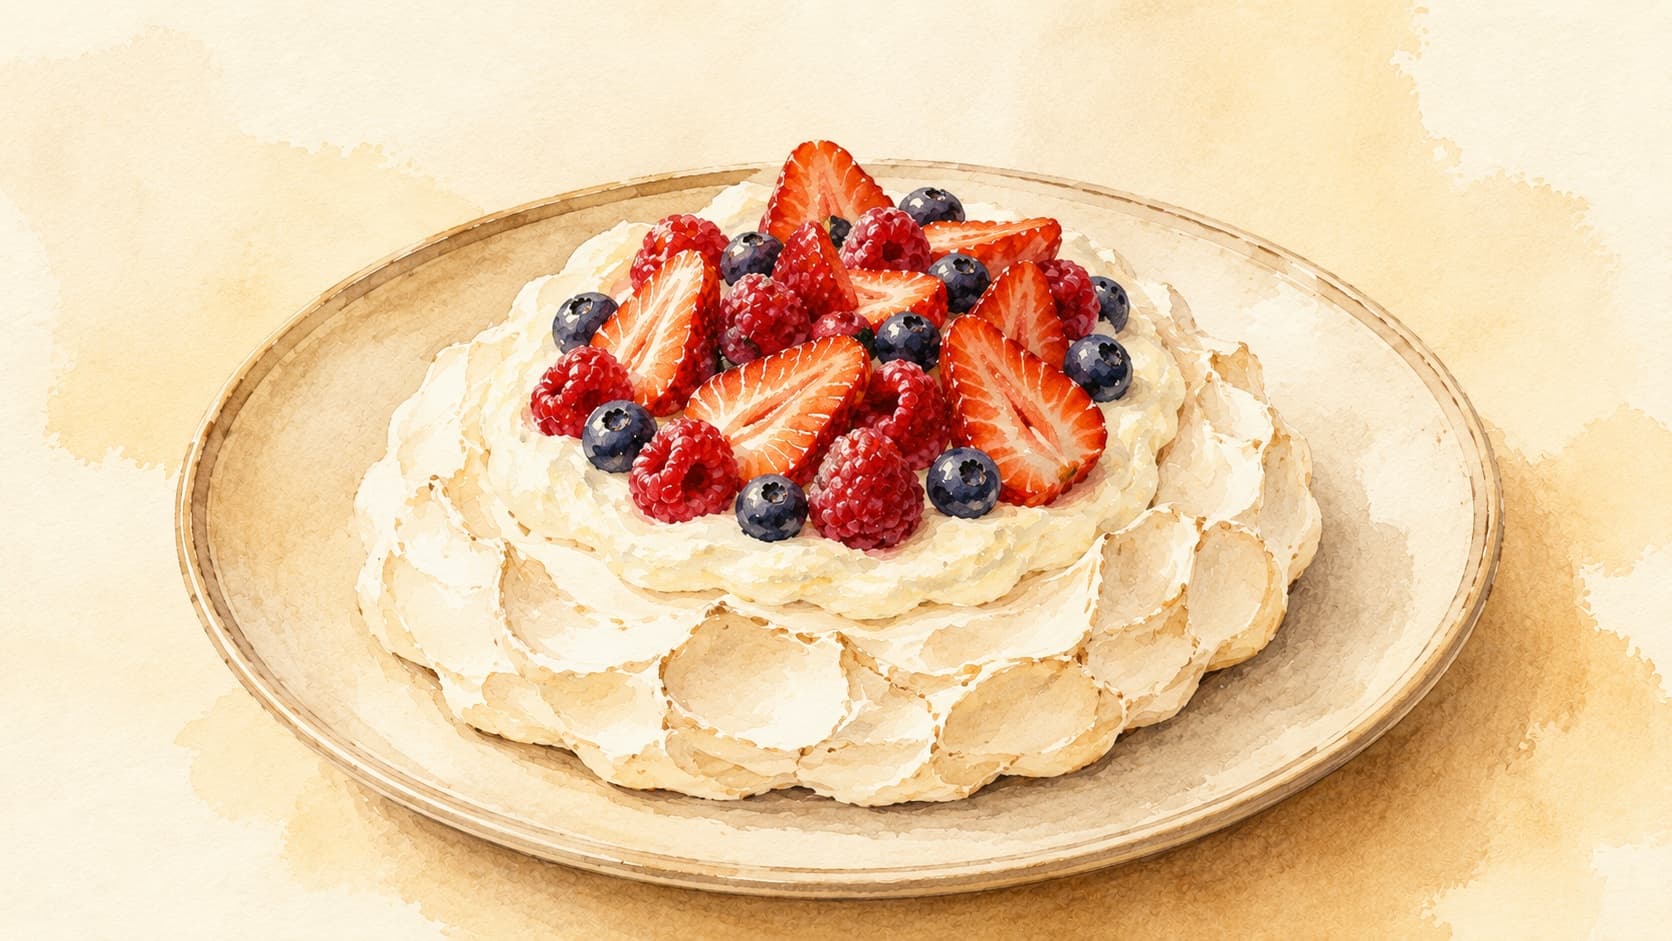
Pavlova is a meringue dessert with a crisp exterior and soft interior, topped with whipped cream and fresh fruit.
Contents (5 sections)▾
Ingredients
- 4 large egg whites
- 1 cup (200 g) granulated sugar
- 1 teaspoon cornstarch
- 1 teaspoon white vinegar
- 1/2 teaspoon cream of tartar
- 1 cup (240 ml) heavy whipping cream
- 2 tablespoons powdered sugar
- 1 teaspoon vanilla extract
- Assorted fresh fruits (kiwi, strawberries, passion fruit) to taste
Steps
Preheat your oven to 120°C (250°F) and line a baking sheet with parchment paper.
In a clean bowl, whisk the egg whites until soft peaks form. This usually takes about 3-4 minutes.
Gradually add the granulated sugar, 1 tablespoon at a time, while continuing to whisk until the mixture is glossy and stiff peaks form.
Gently fold in the cornstarch, vinegar, and cream of tartar. This stabilizes the meringue and gives it a light texture.
Spoon the meringue onto the prepared baking sheet, creating a circular shape about 8 inches in diameter.
Bake in the preheated oven for 1 hour. If it cracks, don't worry; this is normal.
Turn off the oven and let the pavlova cool completely inside, allowing it to dry out.
Once cooled, whip the heavy cream with powdered sugar and vanilla extract until soft peaks form.
Spread the whipped cream on top of the pavlova and decorate with assorted fresh fruits.
Why this works
Pavlova is celebrated for its delicate structure, achieved through the precise whipping of egg whites. The incorporation of cornstarch and vinegar during whipping helps stabilize the meringue, allowing it to maintain its shape while baking. The low oven temperature ensures a gradual drying process, which is crucial for achieving the desired light and airy texture. Baking it for a longer time at a lower temperature prevents the outside from browning too quickly while allowing the inside to remain soft and marshmallow-like. If the meringue cracks, it’s often due to sudden temperature changes; to rescue it, simply cover the cracks with whipped cream and fruit. This conceals imperfections and adds visual appeal. The final product is a visually stunning and delicious dessert that melts in your mouth.
Common mistakes
Any trace of yolk or fat in the whites. Target: clean, dry bowl and whisk; not a speck of yolk in the whites. Why it matters: fat coats the egg-white proteins and prevents them from forming the stable foam (the air-trapping network) that holds the meringue up. A single drop of yolk can keep the whites from reaching stiff peaks. What to do: separate eggs one at a time over a small cup, then transfer each white to the mixing bowl; wipe the bowl with a paper towel dipped in vinegar to strip any residual grease.
Sugar added too fast. Target: add sugar 1 tablespoon at a time once soft peaks form (when the whites hold their shape but the tips flop over softly when the whisk is lifted), whisking ~10 seconds between additions; final mixture should feel smooth, not gritty, when rubbed between fingers. Why it matters: sugar needs time to dissolve into the whites; undissolved sugar weeps as syrup during baking and gives a sticky, cracked shell instead of a dry-crisp one. What to do: if it still feels gritty after all the sugar is in, keep whisking a few more minutes; the meringue should be glossy and hold a stiff, upright peak (the tip points up sharply and stays put when the whisk is lifted — the bird-beak shape).
Pulling it out of the oven hot, or under-baking the shell. Target: bake through at ~120–130°C (~250–275°F) until the outside is dry-crisp and the shell sounds hollow when tapped, then turn the oven off and let it cool inside with the door slightly ajar. Why it matters: a sudden temperature drop collapses the meringue and traps moisture inside. Under-baked meringue stays tacky and can weep — meringue must be baked through and dry-crisp on the outside to be safe and stable. What to do: plan for the long, slow cool; do not rush it. Bake low and slow rather than hot and fast.
Topping it the night before and leaving it on the counter. Target: assemble pavlova close to serving; refrigerate leftovers (cream + fresh fruit are perishable) and finish within a day. Why it matters: whipped cream and fresh fruit are dairy and produce — at room temperature they spoil; on the meringue, their moisture also dissolves the dry shell into a sticky mess. What to do: store the bare meringue shell airtight at room temperature for a day or two; whip the cream and top with fruit just before serving.
What to look for
- Glossy, sculptable peaks. When you lift the whisk, the meringue should stand up straight in a firm point with a wet-shine surface — that shine tells you the sugar has dissolved.
- A dry, papery shell. Tap the side gently after baking; a finished pavlova sounds hollow and feels firm to the touch, with no tacky spots.
- Hairline cracks, not collapse. A few fine cracks on top are normal and expected. A meringue that has slumped wide and flat went into too hot an oven or was rushed out.
- Marshmallow center on the cut. When sliced, the inside should be soft and slightly chewy, not raw-wet or fully dry — that contrast with the crisp shell is the whole point.
A note on history
The pavlova is named after the Russian ballerina Anna Pavlova, who toured Australia and New Zealand in 1926 and 1929; both countries claim the meringue dessert as their own (Britannica, Wikipedia). A recipe under the name appeared in New Zealand as early as 1929, while Chef Herbert Sachse of Perth's Hotel Esplanade claimed to have created it in 1935. Recent research has also traced earlier meringue-cake antecedents in Austrian and German cookbooks, predating Pavlova's tour (National Geographic).
Get the essays in your inbox — free
Weekly notes on flavor, fermentation, and food history — the writing behind the Atlas of Flavor. No spam; unsubscribe anytime.