
Basque Burnt Cheesecake
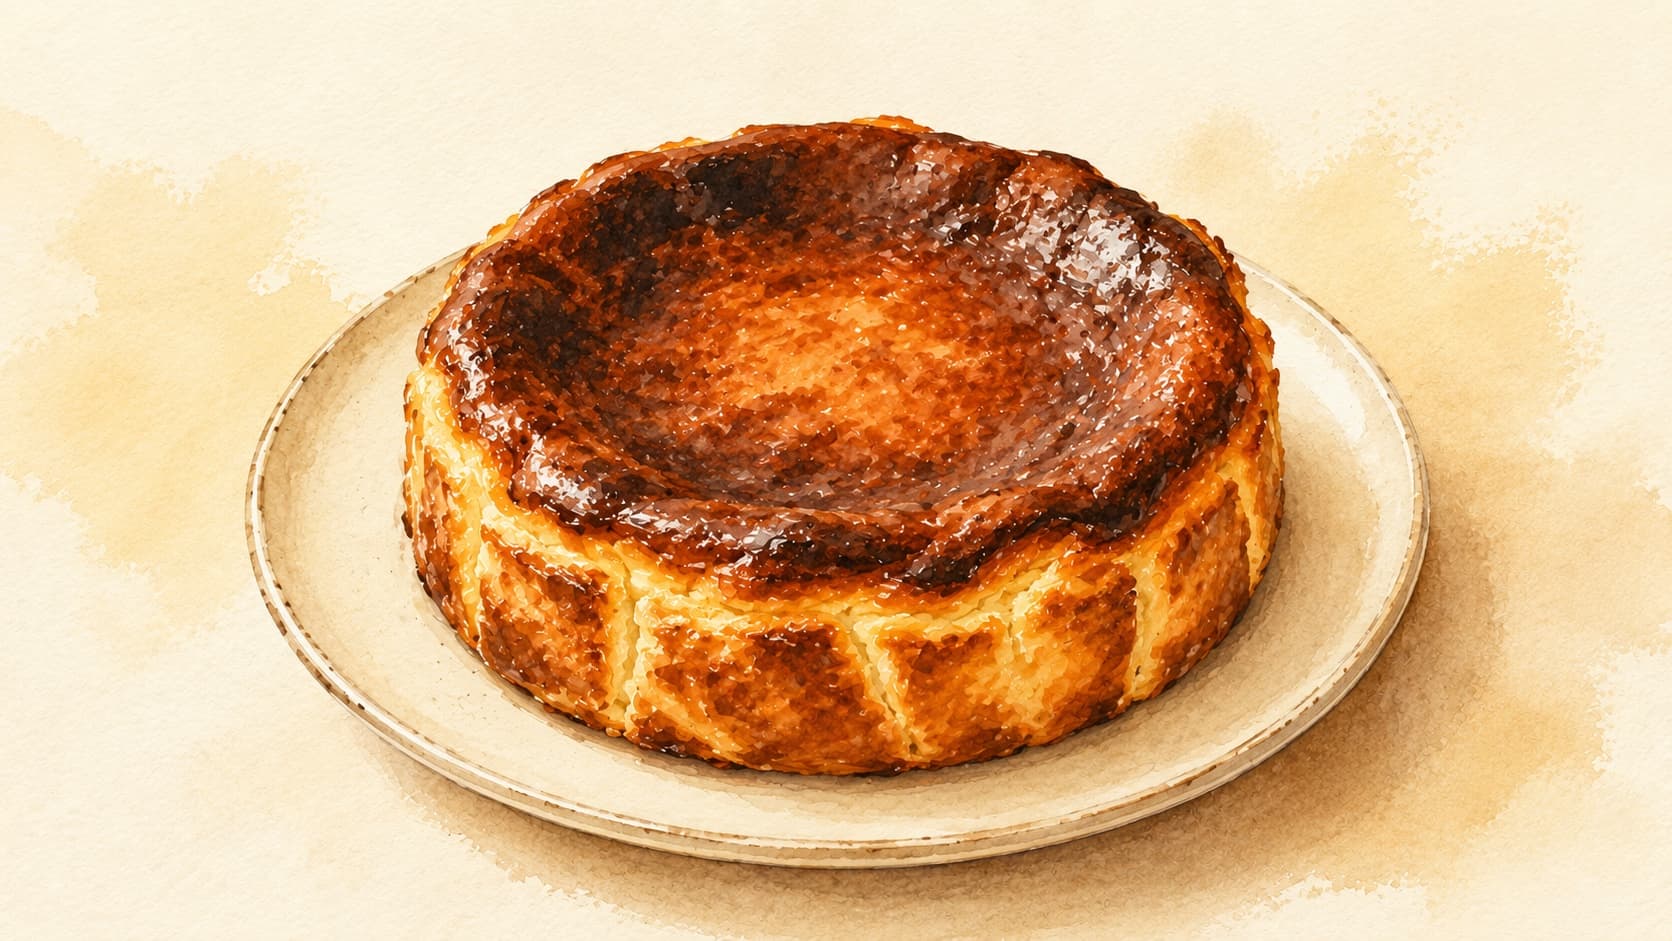
Basque burnt cheesecake features a creamy interior and a deeply caramelized top, emphasizing moisture control and texture contrast.
Contents (5 sections)▾
Ingredients
- 600 g cream cheese, softened
- 150 g granulated sugar
- 3 large eggs
- 300 ml heavy cream
- 1 tsp vanilla extract
- 1 tbsp all-purpose flour
- 1/4 tsp salt
Steps
Preheat the oven to 200°C (400°F). This high temperature is crucial for achieving the characteristic burnt top.
In a large bowl, beat the cream cheese and sugar together until smooth and creamy, about 2-3 minutes.
Add the eggs one at a time, mixing well after each addition to maintain a smooth texture.
Stir in the heavy cream, vanilla extract, flour, and salt, mixing until fully combined.
Line a 9-inch (23 cm) springform pan with parchment paper, allowing excess paper to hang over the edges.
Pour the batter into the prepared pan and smooth the top.
Bake in the preheated oven for 35-40 minutes, or until the top is dark brown and the center is slightly jiggly.
Remove from the oven and let it cool at room temperature for at least 1 hour before refrigerating for at least 4 hours or overnight.
Carefully remove the cheesecake from the springform pan and peel off the parchment paper before serving.
Why this works
The Basque burnt cheesecake is known for its distinctively caramelized top (where the sugar browns under heat into a deeper, bittersweet flavor), achieved through high-temperature baking. The Maillard reaction, which occurs when proteins and sugars undergo heat, contributes to the cheesecake's rich, burnt flavor and deep color. The high-fat content from the heavy cream ensures a creamy texture, while the cream cheese provides the necessary structure. If the cheesecake seems too jiggly in the center after the suggested baking time, it can be returned to the oven for an additional 5-10 minutes. Conversely, if it appears too dark before the center has set, cover it loosely with aluminum foil to prevent further browning while allowing the inside to bake properly. This careful balance is key to achieving the ideal final product.
Common mistakes
Mixing the batter cold, straight from the fridge.
Target: Cream cheese and eggs at room temperature before you start.
Why it matters: Cold cream cheese stays stiff and refuses to blend smoothly, so you beat it harder and longer — and that whips air into the batter. Trapped air bubbles puff up in the oven and collapse into cracks and a grainy texture as the cake cools. Room-temperature ingredients blend into one silky batter with barely any mixing.
What to do: Leave everything on the counter for an hour. Beat just until smooth, then stop.
Opening the oven door to check on it.
Target: Keep the door shut until the final few minutes.
Why it matters: This cake is baked hot and fast precisely so the outside scorches while the inside stays barely set. Every time the door opens, the temperature drops sharply, the burnt top you're chasing stalls, and the delicate custard can sink. The whole effect depends on uninterrupted high heat.
What to do: Trust the time. Judge through the oven window, and only open it right at the end.
Baking it until the center looks firm.
Target: Pull it while the center still wobbles like loose jelly when you shake the pan.
Why it matters: The custard keeps cooking from residual heat after it leaves the oven, and it firms up dramatically as it chills. A center that already looks set in the oven will turn dense and dry once cold — the signature molten, creamy middle comes only from pulling it early.
What to do: Shake the pan gently. The outer ring should be set but the middle should jiggle. That jiggle is correct.
Slicing it warm.
Target: Cool fully, then chill at least 4 hours (overnight is better) before cutting.
Why it matters: Warm, the interior is still semi-liquid and will ooze and tear under the knife. Chilling lets the fat and protein firm into a sliceable custard. Time is part of the recipe, not an optional finish.
What to do: Cool on the counter, then refrigerate. Cut cold for clean slices; let sit out briefly before serving if you prefer it creamier.
What to look for
- A deep brown, almost burnt-looking top — that dark surface is the Maillard reaction and caramelized sugar, and it carries the bittersweet flavor that defines the cake. Pale means underbaked color and a flatter taste.
- The center wobbles like loose jelly when you shake the pan — your signal it's done. A center that barely moves has gone too far and will set up dry.
- The cake puffs up tall in the oven, then settles as it cools — expected and correct. The sink in the middle is what gives the dense, creamy center, not a sign of failure.
- Cold, a cut slice holds its shape but looks custardy and moist at the center — the texture target: set enough to slice, soft enough to be almost spoonable.
A note on history
The Basque burnt cheesecake — tarta de queso — was created in 1990 by chef Santiago Rivera at La Viña, a bar in the old town of San Sebastián in Spain's Basque Country (Wikipedia, Basque Culture). It is defined by its caramelized, deliberately scorched top and a soft, custard-like interior, baked crustless at high heat. For decades it stayed a local San Sebastián specialty; after the burnt top went viral on social media around 2018, home bakers and restaurants on every continent began making it within a couple of years (Basque Culture).
Get the essays in your inbox — free
Weekly notes on flavor, fermentation, and food history — the writing behind the Atlas of Flavor. No spam; unsubscribe anytime.