
Arepas
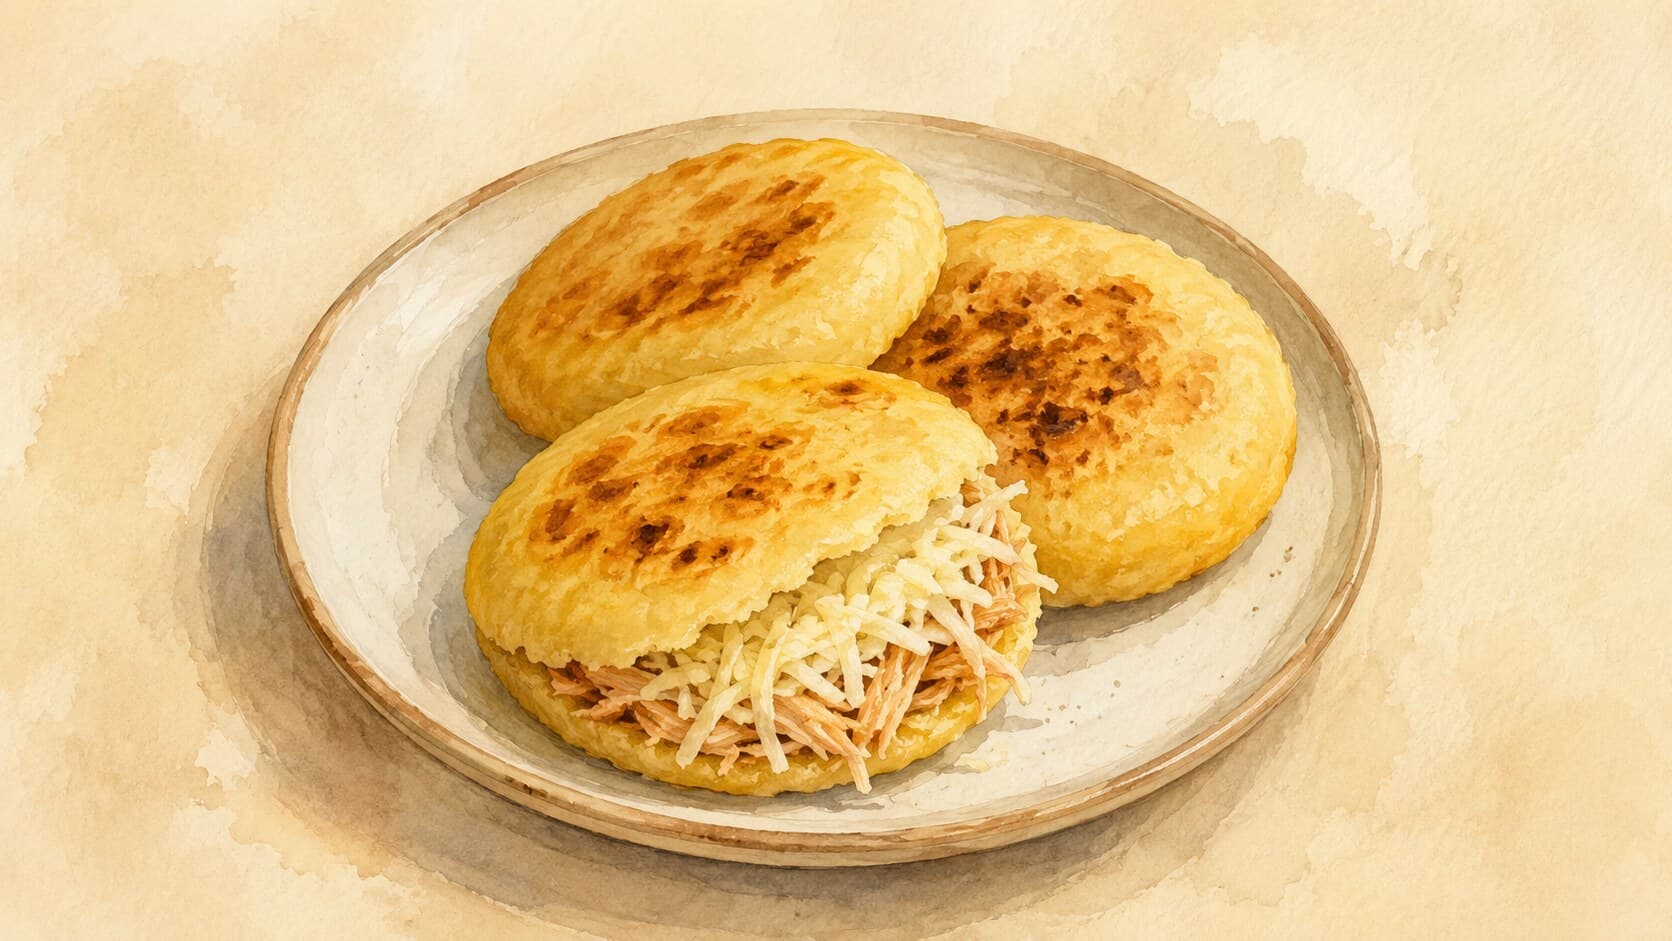
Arepas are round patties made from pre-cooked white corn flour, formed into discs and griddled until golden brown.
Contents (5 sections)▾
Ingredients
- 2 cups pre-cooked white corn flour (masa harina)
- 2 cups warm water
- 1 teaspoon salt
- 1 tablespoon vegetable oil (for cooking)
- Filling of choice (e.g., shredded chicken, avocado, cheese) to taste
Steps
In a mixing bowl, combine the pre-cooked white corn flour and salt. Gradually add warm water, mixing until a dough forms. Let it rest for 5 minutes to hydrate the flour.
Divide the dough into 8 equal-sized balls and flatten each ball into a disc about 1/2 inch thick. This thickness helps them cook evenly.
Heat a non-stick griddle or skillet over medium heat (approximately 350°F/175°C). Once hot, add a little vegetable oil to prevent sticking.
Cook the discs on the griddle for about 5-7 minutes on each side, until they develop a golden-brown crust. This step creates a nice texture and flavor.
Once cooked, split open the arepas while they are still warm and fill them with your desired fillings, such as shredded chicken and avocado.
Why this works
Arepas are a staple in Venezuelan and Colombian cuisine, made from pre-cooked white corn flour (masa harina) (a special corn flour that is cooked and then ground — not the same as cornstarch or ordinary cornmeal). The hydration process allows the flour to absorb water, creating a pliable dough that is easy to shape. When griddled (cooked on a griddle — a flat, dry cooking surface or pan over heat), the outside forms a crisp crust while the inside remains soft and tender. Cooking at the right temperature is crucial; too high can burn the exterior while leaving the interior raw, and too low can result in a tough texture. If your arepas break while cooking, they may be too dry; try adding a little more water to the dough or reducing the cooking time. These flavorful pockets are versatile, allowing for a variety of fillings, making them perfect for breakfast or any meal.
Common mistakes
Dough too dry, so the edges crack.
Target: A soft, smooth dough that holds together without crumbling — like firm play-dough.
Why it matters: Pre-cooked corn flour keeps absorbing water as it sits, so a dough that felt right at first can stiffen within minutes. Dry dough cracks at the rim when you flatten it, and those cracks open further on the griddle.
What to do: Add warm water gradually and let the dough rest the full 5 minutes to hydrate. If the edges of a flattened disc crack, wet your fingers and smooth them closed before cooking; if the whole batch is dry, knead in a little more warm water.
Heat too high — dark crust, raw center.
Target: Medium heat (around 350°F/175°C), giving 5–7 minutes per side.
Why it matters: Arepas are thick. On a screaming-hot griddle the outside browns and even chars before the inside has set, leaving a doughy, pasty middle.
What to do: Keep the heat moderate and be patient. A properly cooked arepa sounds slightly hollow when tapped, and the crust is evenly golden rather than blotchy and burnt.
Discs too thick to cook through.
Target: About 1/2 inch (roughly 1.5 cm) thick, even from center to edge.
Why it matters: The thicker the disc, the longer the heat takes to reach the middle — push it too far and you can't cook the center without overdarkening the surface.
What to do: Flatten to an even thickness and keep the discs on the smaller side. If a thick one stays raw inside after both sides are browned, finish it in a 350°F/175°C oven for a few minutes to set the center.
Filling before the inside is set.
Target: Cooked through, then split while still warm.
Why it matters: Splitting an arepa whose center is still wet gives you a gummy pocket that collapses under the filling. The interior needs to finish cooking to hold its shape.
What to do: Confirm doneness first (hollow tap, golden crust), then split warm and fill. If unsure, give it the extra few minutes in the oven before opening.
What to look for
- The dough before shaping: smooth and pliable, no dry cracks when you press it. Pinch a piece — it should hold together cleanly, not crumble.
- On the griddle: an even, deep-golden crust with a few darker freckles, not blotchy char. The surface firms up and releases from the pan rather than sticking.
- The tap test: a light, slightly hollow sound when you tap the cooked arepa. A dull, heavy thud means the center is still raw.
- Split open: a soft but set crumb — steamy, not wet or pasty. The interior should look cooked through, ready to hold a filling without collapsing.
A note on history
The arepa is one of the oldest foods of northern South America, predating European contact by centuries. It originated with Indigenous peoples of present-day Venezuela and Colombia — groups such as the Timoto-Cuica and Cumanagoto — who ground corn into an unleavened cake and cooked it on a clay griddle. The name is widely traced to erepa, the word for corn in the language of the Cumanagoto. (Wikipedia, Matador Network)
Get the essays in your inbox — free
Weekly notes on flavor, fermentation, and food history — the writing behind the Atlas of Flavor. No spam; unsubscribe anytime.